Creating Maps Using Photoshop
The great thing about creating maps with Photoshop is that you have layers to work with.
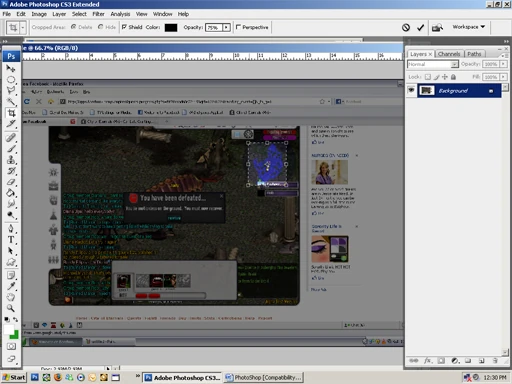
As stated with Greg's MSPaint tutorial, first you will need to take the multiple screen shots to complete the map.
- To take a screen shot - aka "ss", simply make sure you have all you want included in that portion of the map and press your print screen key.
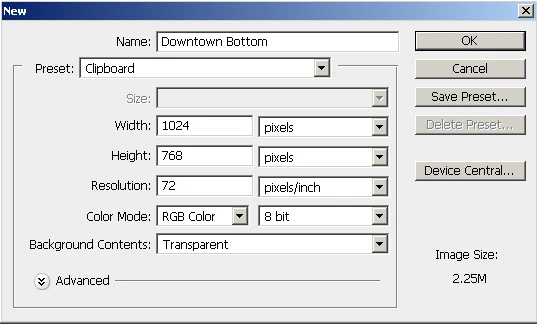
Open up Photoshop and create a new file using the Clipboard preset. Press Ctrl + V to paste it into the new file.
Clipboard
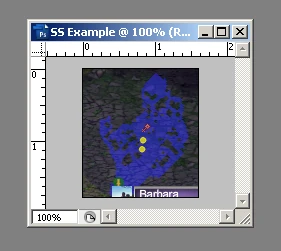
Using the crop tool, crop the screenshot down to the map portion.
Double click the selection to crop it down.
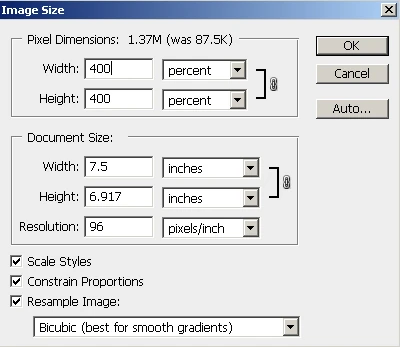
Next, we want to actually be able to see the map, so we need to change the image size. We can do that two ways: 1. Go to Image -> Image Size or 2. Press Alt+ Ctrl + I
I increased it using percent, I chose 400%.

Double click the thumbnail of your image on the Layers Workspace and choose to make it Layer 0 so you have transparent background now and repeat with the other images that make up the map. Erase unnecessary parts (Group Names, Minion Stats), being careful to make sure you don’t delete a portion of the map you need. It should look something like this:

Next repeat this with the other screen shots you took to complete the map.
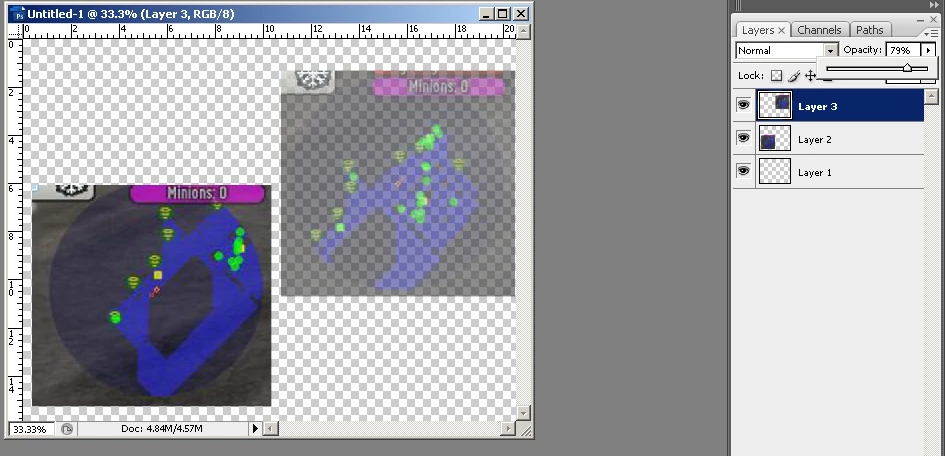
Now, we need to combine the photos together into one work area, to do this, check the Image size of each piece and it's time to do a little math. Minimize the pieces and then guesstimate (yes, I said guesstimate) the total area your map is going to take in pixels and create a new file.
Maximize the screenshots and drag the layers onto the new file.
You can achieve this one of 2 ways. You can click on the piece you want to drag onto the new file and drag and drop, or you can go to the layers on the right side of your work space and drag it from there onto the new file.

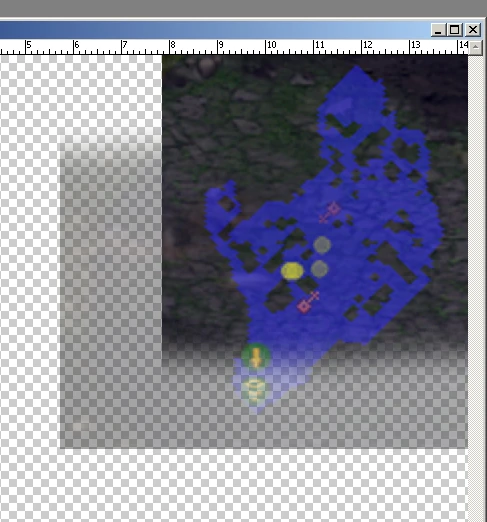
Now you want to move the layers to complete the map. Here's where the layers are useful. You can click a layer and change the opacity lower so you can see the bottom layer through it to achieve a perfect fit.

Obviously, the top layer will be covering the portion of the map on the bottom layer, so get out the eraser. Clean up gently around the areas you see will be affected on the layer with low opacity. Take this opportunity to clean up any other unwanted portions. When you are done erasing, put the opacity back to 100% and take another look, if satisfied then continue, otherwise do all the detailing your heart desires or read the rest of this to see a potentially easy way to make it look good. >

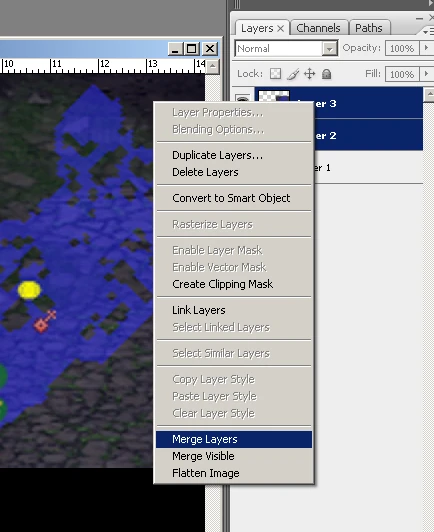
Select all the layers once you have cleaned them up and positioned them properly and right click and select "Merge Layers" to form one layer to work with.

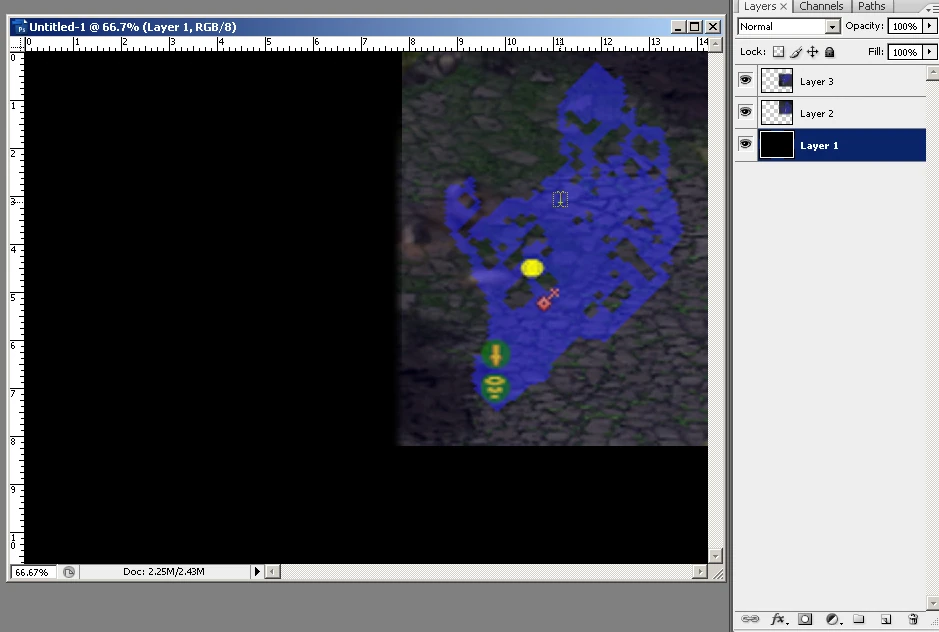
Let's add a new layer beneath your newly merged layer and for the sake of uniformity, let's make it black. You can do this easily by Pressing Ctrl while clicking on the new layer icon on your Layers Workspace.
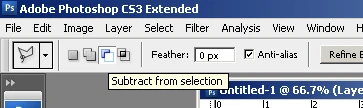
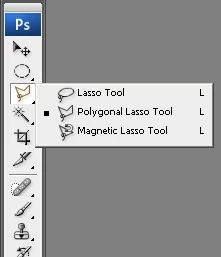
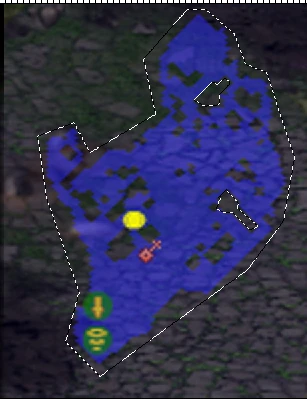
Next take the polygonal lasso tool, and start outlining the map with it, you don't have to get every corner just yet, you can always clean it up later. Make a general outline and then add any cut outs using the subtract from selection option.


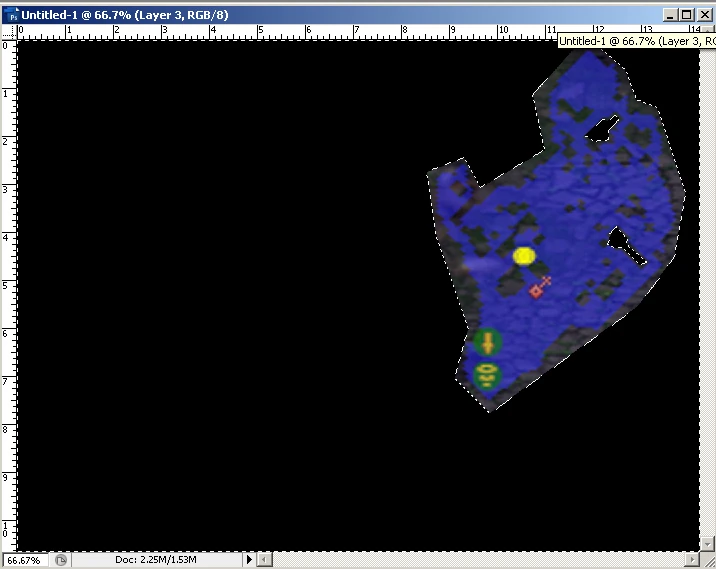
Now we want to select the inverse on the merged layer, you can do this simply by either by going to Select -> Inverse or pressing Shift + Ctrl + I. Now hit delete. You should see your merged layer on top of a black layer.
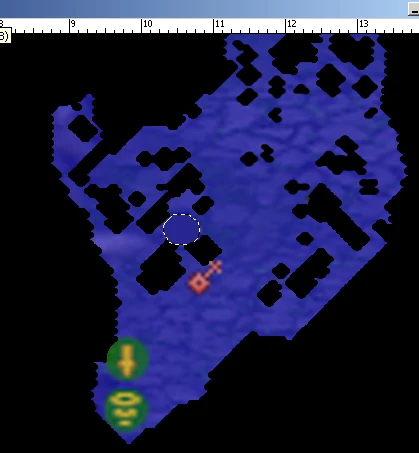
Take the Magic Wand tool and start cleaning up around the actual map by selecting areas and deleting them. I suggest once you have deleted all the areas you want to from the map to select the map layer, go to Select -> Modify -> 1px, Shift + Ctrl + I, and then delete once more to clean it up a bit.

That's the basics, if you want to know more or need help, please feel free to message me when I am in game or read on…
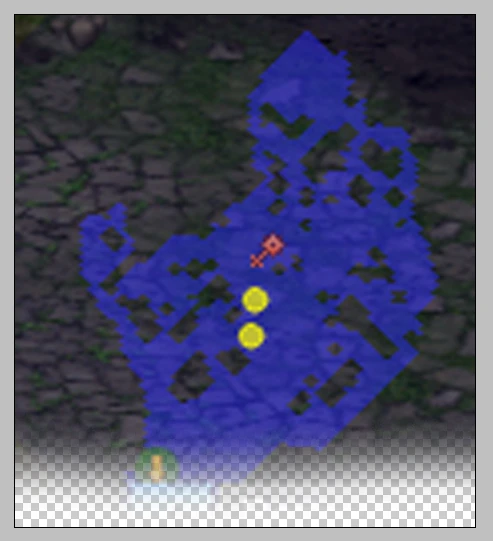
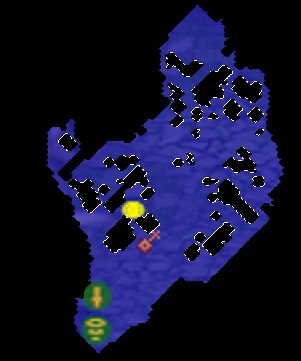
I don’t want the dots showing my party on the map, to take care of this I will use the magic wand to select the yellow dots and take the eyedropper tool to grab the color of the map and use the airbrush to fill the selected area on the image layer with the color. If needs be, I will take the smudge tool to try to blend it into the background better.


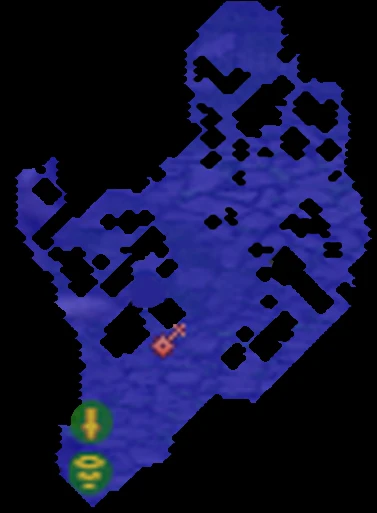
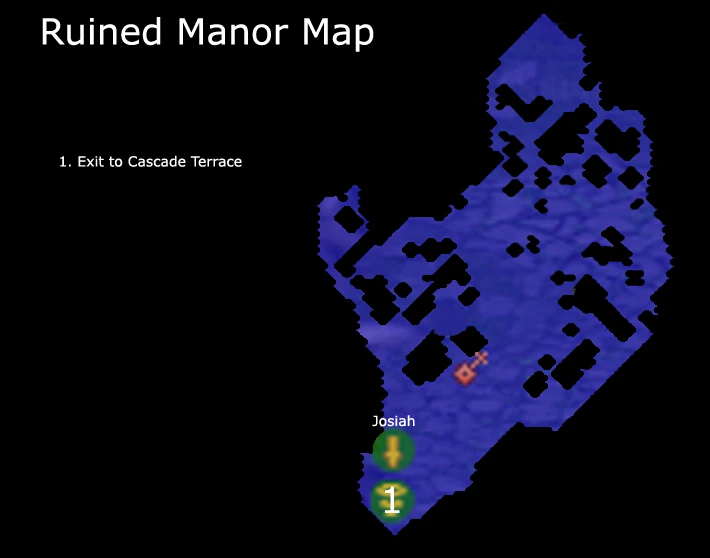
You now have a map, at this point you can make it as nice and detailed as you want. This is what I ended up with: